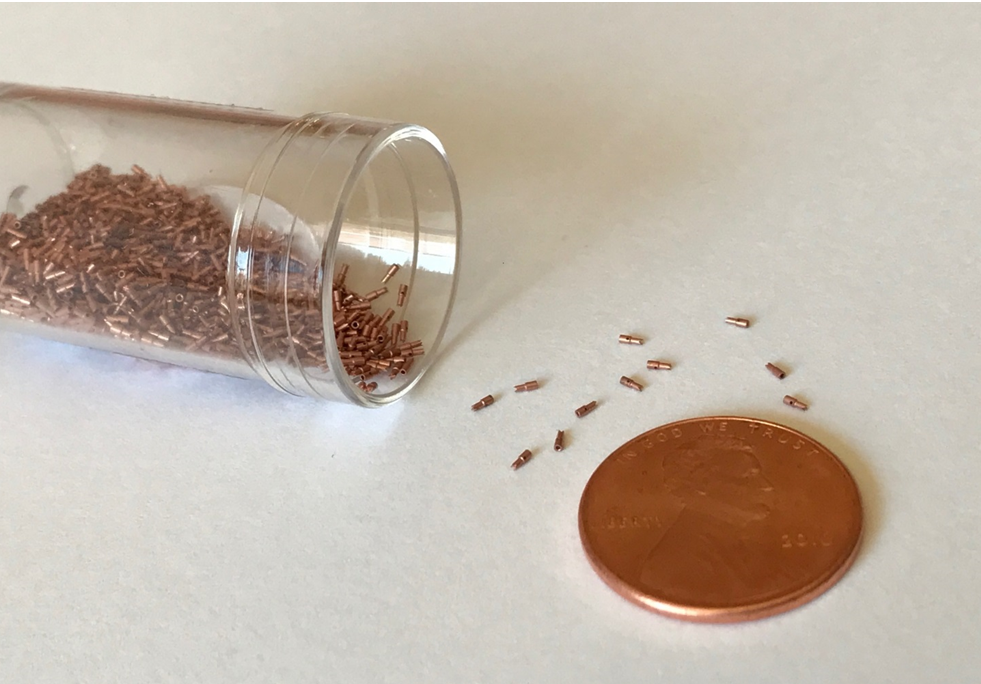
Imagine parts so small that 10,000 pieces fit in a thimble…


Imagine the same parts with unique geometry, machine diameters with tolerances of +/- .0001” (.0025mm)… and the challenge in finding and separating them from the chips and debris of machining…
Imagine those parts are heat treated and gold plated…

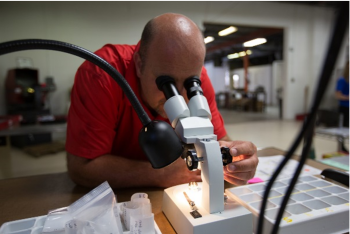
And for the most challenging yet critical piece to the machining process – INSPECTION and collecting SPC data. Questions abound – what magnification should they be viewed at? How will they be staged for viewing? What light source? Any variation on these protocols can affect consistency and repeatability of measurements. Vary all 3 protocols and 3 people will see 3 entirely different parts.
Fortunately, not all the high precision parts we produce are this small or challenging, however, regardless of size or difficulty, our FMEA (Failure Mode Effects Analysis) process includes gathering information on customer inspection methods and other gaging instruments so that we have a thorough understanding of how our customer inspects their parts. Communicating mutual inspection methods and overall expectations verifies we are comparing “apples to apples” and helps to ensure 100% customer satisfaction.
Learn more about our quality control.

